Tired of dealing with a battlefield in your kitchen every day? You're not alone. The response is a surprisingly simple one. In the realm of the kitchen and the entry, cubes both large and small are nonsense. It's no wonder that most humans spend hours each week sifting through mislaid items, tangling with cluttered counters and wrangling overstuffed cabinets that seem to have a life of their own.
The reality is, an orderly kitchen can ease the way and save you time, money and grief. When everything has a home, cooking is fun instead of frustrating. You won't waste time looking for that elusive can opener; instead, you'll be making delicious dishes your family will devour.
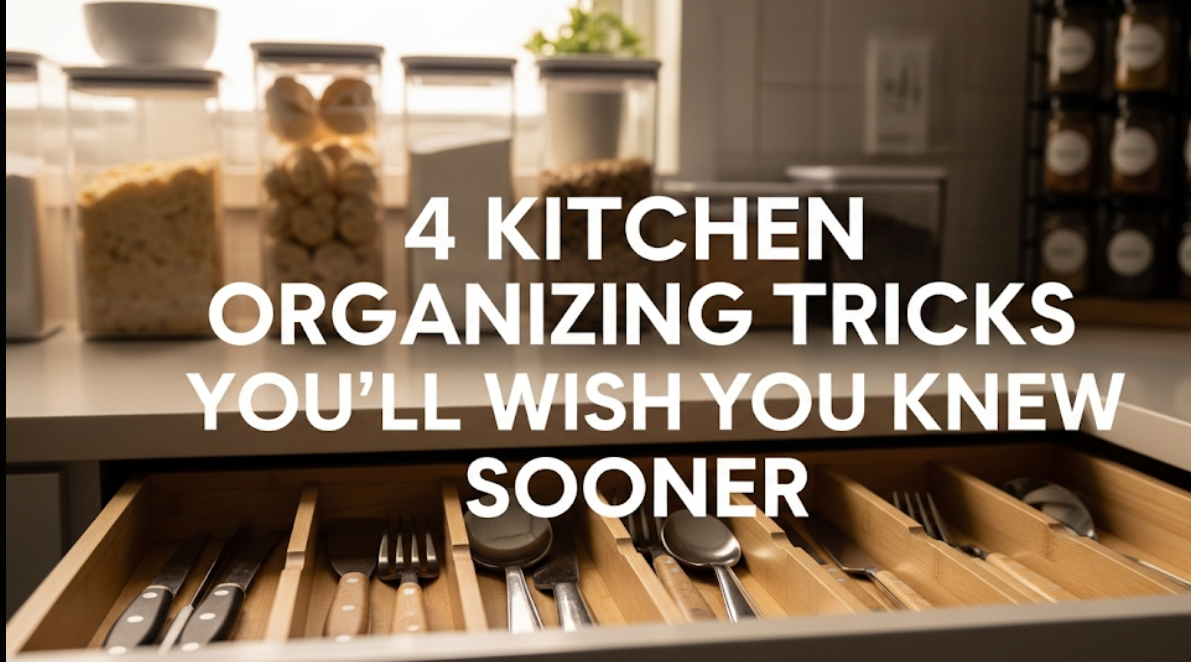
Here, you'll find four life-changing kitchen organizing hacks that will take your culinary space from crazy to calm. These aren't intricate systems that involve expensive gadgets or hours of calibration. They are not, in other words, big, dramatic measures, but rather small, rational ideas that you or I could put into action as of this very day.
Prepared to transform your kitchen to the organized, efficient room you've always dreamed of? Let's get right to these life-changing organizing secrets.

Trick #1: Three-Zone Magic
The reason most kitchens don't work is that they have no zones. The Three-Zone Magic Method separates your kitchen into three different zones according to how you actually use it (not how it looks).
Zone 1: The Prep Zone (Your Command Center)
Your prep area will have to be the biggest counter space near the sink. This is where all chopping, mixing and food preparation goes down.
What belongs here:
-
Cutting boards (kept on their side to take up less space)
-
Magnetic block/knife storage for the knives
-
Mixing bowls (for nesting)
-
Measuring cups and spoons
-
Salt, pepper, and daily-use spices
Pro tip: Keep a small bowl or container within arm's reach to hold scraps while you cook. This prevents you having to make regular journeys to the bin and maintains a tidy work area.
Zone 2: The Heat Central (The "Cooking Zone")
This area is focused around your stove and oven. Everything you need to cook in earnest should live within your arm's reach.
Essential items for this zone:
-
Pots and pans (if you can, hang them to save on cabinet space)
-
Kitchen tools, such as spatulas and tongs
-
Hot pads and oven mitts
-
Cooking oils and vinegars
-
Frequently used seasonings
Storage hack: Leverage the inside of cabinet doors in this zone. Add hooks or little bins for pot lids, measuring spoons or oven mitts.
Zone 3: The Cleaning Zone (The Fresh Start Area)
Your sink space is already a cleaning area by default. Create order in this space to make it easier to clean.
Key components:
-
Dish soap and sponges (in a caddy to prevent counter-top debris)
-
Dish towels and paper towels
-
Dishwasher pods or powder
-
Countertop and appliance cleansers
Smart storage solution: Add a little trash can under the sink for cleaning products. This way they stay unexposed, but right there for when you do need them.
Making the Zones Work Together
The magic comes when these zones flow together smoothly. You should be able to move from prep to cooking to cleanup without crisscrossing or hunting for ingredients.
Store items that are used often at an accessible height in each zone. Put heavy items in the lower cabinets, light items above. This alleviates some of that stress, and makes everything more approachable.
Trick #2: The Vertical Victory Strategy
"Most people think in a linear way when they're planning their kitchen, but the sky is the limit — no pun intended," she jokes. "You can double or triple what your kitchen storage is without putting in one more cabinet, simply by going more vertical."
Cabinet Door Goldmines
After all, your cabinet doors are prime real estate and are typically used for absolutely nothing. Here's how to maximize them:
Inside pantry doors:
-
Get narrow wire racks for spices, small cans or packets
-
Hook up measuring cups and spoons
-
Hang a small basket of treats or tea bags
Under-sink cabinet doors:
-
Attach a cutting board holder
-
Add hooks for rubber gloves or small cleaning tools
-
A wall-mounted paper towel holder to get your paper towels off your counters
Upper cabinet doors:
-
Keep cookie cutters or plastic containers in a lightweight panel
-
Mount a small spice rack for daily seasonings
-
Install hooks for coffee cups (if it's above your coffee station)
Wall Space Warriors
Don't waste your walls. They provide tremendous storage potential that most of us never realize.
Magnetic solutions:
-
Magnetic knife strips make it both safe and counter space-clearing
-
Magnetic spice containers can adhere to the side of your refrigerator
-
Magnetic hooks keep any measuring spoons or small tools handy
Hanging systems:
-
Put up a rail with S-hooks for utensils, pots and pans
-
Hang floating shelves for everyday items
-
Hang a couple of small baskets for fruits and veggies
The Power of Stackable Storage
Going vertical inside your cabinets and the pantry can definitely put you in the bonus space category.
Cabinet organizers that stack:
-
Wire shelving units that double the height of your cabinet
-
Stackable bins for snacks, baking supplies, cans, etc.
-
Cascading spice racks that allow you to see all your bottles at the same time
Pantry vertical solutions:
-
Stackable clear storage allows easy access to your items at a glance
-
Stackable can dispensers that dispense from the front
-
Rotating corner cabinet pullouts
Height-Based Organization Chart
|
Cabinet Level |
Best Things to Store |
Why It Works |
|
Eye Level (most convenient) |
Daily essentials (coffee, cereal, plates) |
Easy to see and grab |
|
Upper Shelves |
Lightweight items used occasionally |
Safe spot for not-so-often-used items |
|
Lower Shelves |
Heavy things (appliances, bulk goods) |
Easier to lift from lower down |
|
Floor Level |
Big, heavy stuff (large pots, bulk storage) |
Most stable for heavy items |
Trick #3: The Container Revolution System
The right containers can turn chaos into order overnight. But it's not just a matter of buying pretty bins — it's about purchasing containers that actually work for your lifestyle and space.
The Clear Container Advantage
You know those clear storage containers are your best bet to stay organized in the kitchen. If you can see what's inside without opening every container, you save time and cut down on food waste.
Best uses for clear containers:
-
Flour, sugar, rice and pasta - pantry staples
-
Snacks in crinkly bags (crackers, chips, granola bars)
-
Leftovers in the refrigerator
-
Baking ingredients such as chocolate chips, nuts and dried fruit
Size strategy: Purchase containers in only 2-3 sizes that stack well and nest together. Too many various sizes means visual clutter and wasted space.
The Label Game-Changer
Labels aren't just for show — they are essential tools for keeping everyone in your home organized.
Labeling best practices:
-
A label maker keeps it clean and professional
-
Put expiration dates on stored pantry items
-
Label the front and top of containers (for when they are organized in a stack)
-
Illustrate for family members who are not yet reading themselves
What to label:
-
Any pantry jars with contents and date kept
-
What's in the freezer with freeze dates and contents
-
Containers of spices (or if you are like me and have transferred all spices to uniform containers)
-
Bins in refrigerator with categories (leftovers, snacks, meal prep)
The Shape Strategy
That container shape really does matter more than you might have thought. Odd-sized shapes that don't fit waste space and make stacking impossible.
Rectangle and square containers:
-
They stack 80% better than round containers
-
Stack perfectly without wasted gaps
-
Store better in most cabinets and refrigerators
-
Easier to label clearly
Round containers work best for:
-
Pourables (cereal, granola, etc.)
-
Foods that swell (like rice or pasta as they cook)
-
Small quantities which are likely to be accessed periodically
Kitchen Area Smart Container System
Pantry containers:
-
Airtight canisters for bulk storage
-
Medium containers for weekly staples
-
Spice and seasoning holders
-
Bin-style containers for grab-and-go snacks
Refrigerator containers:
-
Clear bins for grouping like items
-
2-3 stackable leftover containers of various sizes
-
Produce containers with ventilation
-
Slim condiment and sauce containers
Freezer containers:
-
Flat meal prep containers that you can stack
-
Freezer bags in containers so it won't get freezer burned
-
Ice cube trays to freeze herbs in oil or broth
-
Vacuum-sealed bags for long-term storage
The Container Audit Process
Before you head out and purchase any containers, perform this simple audit:
-
Measure your area – Find out exactly how much space you have
-
Take a tally of your categories – How many varieties of stuff need containers?
-
Estimate amounts - How many of each do you normally keep?
-
Test run with the jars you have - Try the mason jar or any other jars that are in your house first to measure the sizes
-
Purchase in phases – Start with the primary locations and continue to grow over time
Trick #4: The Daily Reset Rhythm
If you are not committed to maintaining it, one of the world's greatest organizing systems will not be effective. The Daily Reset Rhythm only takes 10-15 minutes a day and you can keep your kitchen looking good all the time.
The 10-Minute Evening Reset
This ritual at the end of the day means clutter never piles up in the kitchen.
The reset checklist:
-
Clean off all your counters (return everything to their respective zones)
-
Load or run the dishwasher
-
Use microfiber cloth for wiping all surfaces
-
Store anything that remains on tables or islands
-
Do a quick sweep of the floor
-
Prepare the coffee or breakfast for tomorrow
Why night is better than morning: You start each day with a clean slate, which will help you get breakfasts and lunches made more quickly.
The Weekly Deep Dive (20 minutes)
Do deeper organizing tasks that help you maintain these systems for 20 minutes a week.
Weekly tasks:
-
Examine expiration dates in pantry and fridge
-
Straighten up the zones that ended up getting messed up during the week
-
Refill bottles that are running low
-
Map out meals for the week and create a shopping list
-
Empty your refrigerator before you shop groceries

The Monthly Maintenance Check
Assess your systems monthly and make small corrections.
Monthly review questions:
-
What organizing systems are you doing well?
-
Which areas consistently get messy?
-
Are there containers that we need to replace or modernize?
-
Do you have any new items that require designated homes?
-
What can be modified according to the seasons?
Creating Habits That Stick
The key to making this reset rhythm automatic is to start small and build up.
-
Week 1: Only clear counters each evening
-
Week 2: Also wipe down surfaces
-
Week 3: Then put dishes in the dishwasher
-
Week 4: Then use the 10-minute routine as is
For habit stacking: Your reset routine should be stacked on something you already do every day, like having dinner or watching the evening news.
Family Involvement Strategies
Involve the whole household in the organized kitchen.
For kids:
-
Give them age-appropriate jobs (clearing silverware, wiping tables)
-
Make picture labels for bins and other containers
-
Turn clean up into a game with timers
-
Reward consistency with small privileges
For adults:
-
Split jobs according to preference and timing
-
Adopt the "one-touch rule" — keep things where they belong, in real time, rather than setting them aside
-
Adopt the "clean as you go" system
-
Socialize by playing music or talking during reset time
Troubleshooting Common Reset Problems
Problem: "I forget to do the daily reset"
Solution: Put a phone alarm on for the same time every day, or tie it to an existing habit
Problem: "10 minutes isn't long enough"
Solution: Your organizing systems may need to be adjusted, or you may need to declutter more
Problem: "My family doesn't help"
Solution: First model the behavior for them consistently, and then slowly bring them on board
Problem: "I get behind, then I give up"
Solution: Limit the reset to only 5 minutes of counter-clearing; make this automatic
Measuring Your Success
Give these four tips a try, and you'll experience some big changes in your kitchen. These are the main gains most individuals experience:
Time Savings Breakdown
|
Task |
Before Organization |
After Organization |
Time Savings |
|
Finding cooking utensils |
2-3 minutes |
30 seconds |
2 minutes/cooking session |
|
Meal preparation |
45 minutes |
30 minutes |
15 minutes/meal |
|
Post-meal cleanup |
20 minutes |
10 minutes |
10 minutes/meal |
|
Weekly grocery planning |
30 minutes |
15 minutes |
15 minutes/week |
Quality of Life Improvements
In addition to saving time, a tidy kitchen enriches your daily life in the following ways:
-
Less stress in the kitchen and around the house
-
Improved meal planning when you can see what you have
-
Reduced waste of food by improved visibility and rotation
-
A more pleasant cooking experience when everything goes right
-
Home value raises from a good, functional kitchen
Frequently Asked Questions
How long would it take to organize a kitchen if you used these tricks?
All four tricks can be done by most people in a single weekend. The Three-Zone Magic Method requires 2-4 hours, depending on the size of your kitchen. The Vertical Victory Strategy takes 1-2 hours. The Container Revolution System includes shopping time plus 1-2 hours for assembly. The Daily Reset Rhythm can start immediately, but it will take 2-4 weeks of using it before it becomes automatic.
Do I need to invest in expensive organizing products?
Not at all. Begin with what you already have — mason jars, baskets and bins are perfect. The most critical purchases are clear, stackable containers for your pantry (average cost $30-50 total). Although there are a number of vertical storage solutions that can be done DIY style with items from hardware stores.
But what if my kitchen is tiny?
These tricks are particularly useful in a small kitchen. With the Three-Zone Method, you can make the most of limited space, and doubling your capacity is possible with vertical storage. Concentrate on multi-use items and save every inch of wall and door space. Small kitchens are frequently better organized than big ones, because everything must have a place.
How to stay organized when your family resists?
Begin organizing with your cooking areas first. While families witness how much easier it is to cook and clean up, they'll follow suit. Involve them in the selection of the container types and organizing styles. Turn the daily reset into a family experience with music or conversation and make it something pleasurable, rather than a chore.
Should I do everything at once or one trick at a time?
Concentrate on one trick at a time for the best results. Begin with the Three-Zone Method as it will be a base for everything else. Then comes vertical storage, containers and at last the daily reset. Attempting to do it all at once is a path that tends to leave one overwhelmed and giving up.
How do I determine what kitchen stuff to keep vs. give away?
The "last 6 months" rule: if you haven't used something in the last 6 months, you likely don't need it. Keep one of each tool (but not all three can openers), and donate duplicates. Anything that's broken or you no longer use (like appliances, tools) should go ASAP. When in doubt, box items for 3 months — if you don't miss them, donate the entire box.
What is the No. 1 mistake people make when organizing kitchens?
The No. 1 mistake people make is purchasing organizing products before they have decluttered and sorted out areas in the home. Too many of us also feel a need to emulate Pinterest-perfect pantries out there, with no accounting of how we actually cook. A common mistake is designing systems that are too complex to maintain every day.
How often should my kitchen be reorganized?
The Daily Reset Rhythm should make it unnecessary to do much in the way of sweeping reorganizations anyway. Quarterly, do a quick review and adjust systems according to seasonal cooking changes or new habits. If you're constantly struggling with your system of organization, it might mean adjusting zones or how you store things to better fit how you use your kitchen in real life.
Your Organized Kitchen Starts Today
Converting your cluttered kitchen into a space that you actually like being in doesn't happen overnight, but it doesn't have to take forever. These four tricks — the Three-Zone Magic Method, Vertical Victory Strategy, Container Revolution System and Daily Reset Rhythm — work in concert to transform your kitchen into one that supports your cooking goals and lessens the daily stress of keeping it up.
After all, the best organizing system is the one you will actually put to use. Begin with whichever trick feels most enticing to you or solves your biggest sticking point. When that feels easy, add another trick. Next thing you know, you've got a kitchen that will work as hard as you do.
The secret isn't to have a perfect kitchen or the most expensive organizing products. It's all about making simple, sustainable systems that fit with your actual life and the way you cook. Your future self will thank you every time you step into your gorgeously organized kitchen.
Ready to get started? Choose one area today, and get started with your kitchen makeover. In a few weeks, you'll marvel at how you ever tolerated the mess — and wish you'd learned these tactics years ago.